Setup Agent Translations
Overview
To set up a multi-language helpdesk you may want to set up Azure Text Translation to assist Agents in talking to users that may be coming in with various different languages. Azure Text Translation will help auto-detect the languages coming in from the Guest and allow them to automatically talk with guests in any language.
Create a new Translator resource in Azure
If you already have an Azure Text Translation service set up already, move to the Add Translation Key to Chime section.
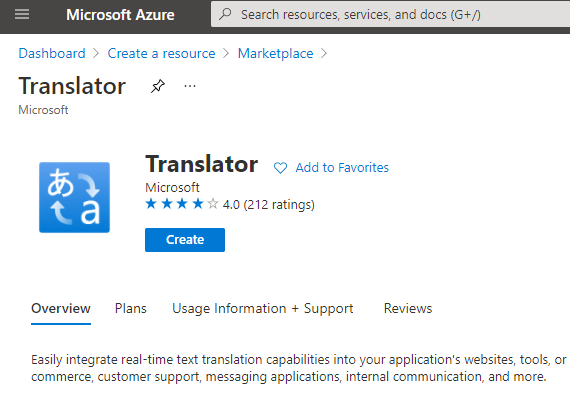
To create a Translator Azure Service you can start by clicking Create a Resource and then search for "translation"

Click on the Translator option that is text based, not the one that is speech based. Click Create
Fill out the information on this next page: Subscription, Resource Group, Region, Name, Pricing Tier (Minimum of Standard S1 otherwise the Translation Service may stop working in Chime)

Click Next: Tags
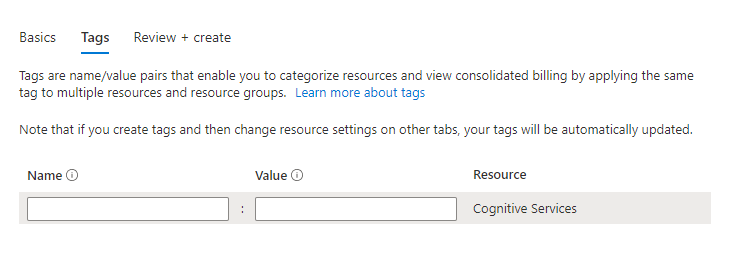
Add any tags that may be relevant to your service (ie: created by, created date, notes) Click Next: Review + Create Click Create
#Retrieve the Translation Service Subscription Key
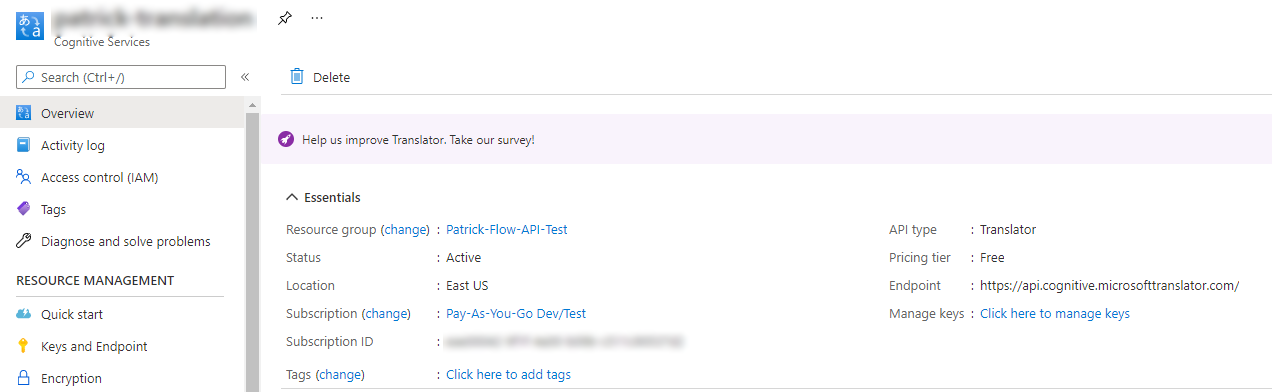
- Navigate into the Resource Group of the service
- Click into the Translation Resource
- Navigate to the Overview tab in the resource
- Copy the Subscription ID
#Add Translation Key to Chime
- Go to Admin -> Settings -> Advanced
- In the Translation Settings make sure your Translation Service Access Token URL: is set to https://api.cognitive.microsoft.com/sts/v1.0/issueToken
- Set the Translation Service Subscription Key: to the subscription key that you copied from your resource in Azure
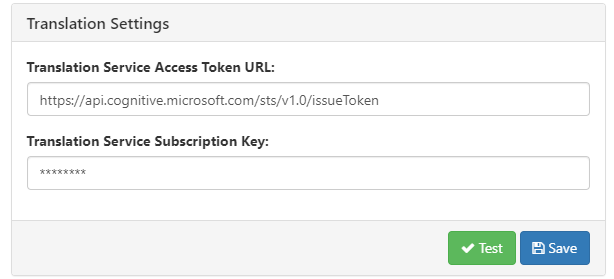
- Click Test to verify that Chime is able to connect to the Translation service
- Click Save
#Using Translation in the Agent Web Client
If you would like automatic translation whenever a chat opens:
- Navigate to the Agent Dashboard
- Set Enable agent web client auto translate to True

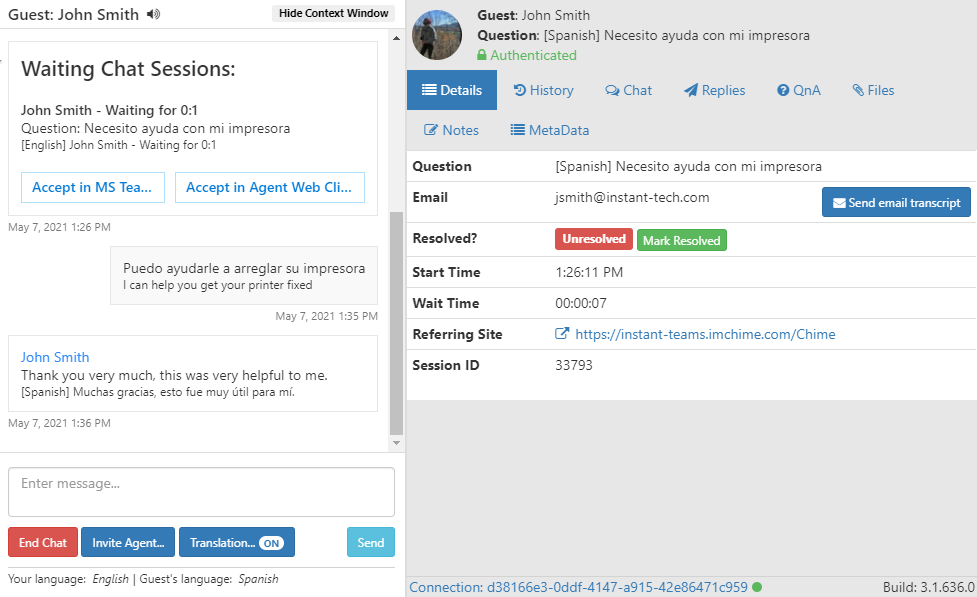
If you would like to have translation only when you choose for specific chats, leave this false. If in a chat session you would like to enable translation, simply click the Translation button on the bottom of the Chat UI.
A window will open and allow you to choose what languages you want the guest to be translated to, and what language you want to be translated to. Set the Translate guest to: setting to your native language, and set the Translate agent to: setting to the language the guest speaks natively. Alternatively, you can leave that field blank and turn on the Auto detection: feature and it will detect what language they are speaking and automatically translate you into that language.
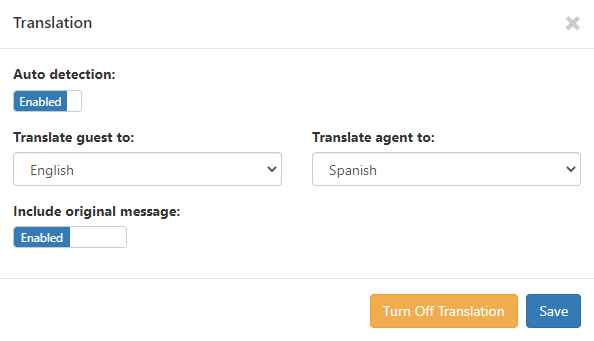
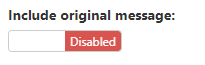
Note: by default, Chime will send both the message you enter and the translated message to the guest.
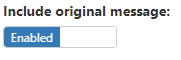
If you would like to only send the translated message to the guest, when you set up the translation settings, mark the field Include original message: to disabled.
Click Save once all of your changes are set. You are now able to type in your native language and it will translate for the Guest automatically
##How a Guest may Interact with Translation
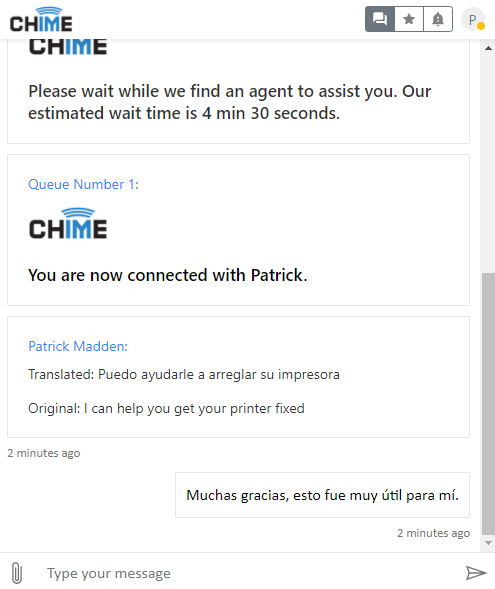
##How an Agent may Interact with Translation